| Filed in Blog, Hiking & Backpacking, Hiking Gear | Disclaimer: I use affiliate links and may receive a small commission on purchases. | Leave a Comment
Your first backpacking trip can be so intimidating. It feels like there is so much you need to know and do to prepare! I’m here to break it down for you and tell you maybe more than you want to know to feel very prepared for your first trip! Keep reading for my Backpacking Tips for Beginners.
- Step 1: Backpacking Gear
- Backpacking Tips for Beginners Step 2: Choosing a Location
- Step 3: Check the Weather
- Backpacking Tips for Beginners Next Step. 4: Plan your Food and Water
- Step 5: 7 Safety Backpacking Tips for Beginners
- Step 6: Hygiene While Backpacking
- Step 7: Respect the Environment
- Final Step: Sleeping in the Outdoors
- Summary of Backpacking tips for beginners
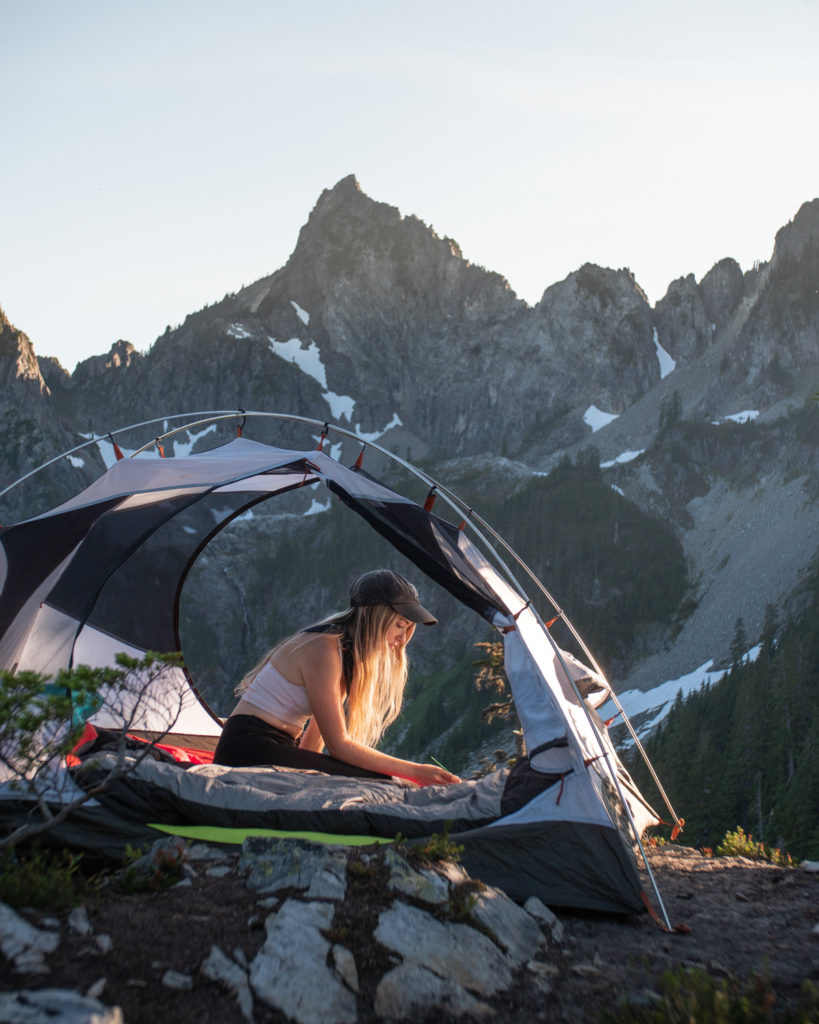
Step 1: Backpacking Gear
Most of the hesitation I’ve seen expressed around going backpacking for the first time is based around gear. Gear IS expensive and gear is intimidating! You do not have to have the best gear or the lightest gear to go backpacking! You can make due on shorter trips with gear you already have if you are on a small budget as long as it is not sacrificing safety.
I STILL to this day use my REI two person tent that I bought in 2015. Sure, there are lighter, better options, but it works well and I can never justify spending $300-$500 on a new tent that weighs 1 lb lighter at this time in my life.
Backpacking Checklist Packing List

I break down all my gear in my post: MY BACKPACKING PACKING LIST
GEAR BUYING TIPS
On a budget?? Check out the USED GEAR section on REI’s Website. There are multiple tents for close to $100. Also, if you are unsure if backpacking is right for you, consider renting gear from REI.
It can be easy to get overwhelmed from making gear decisions. If you follow these general guidelines, read reviews for products and look for deals – I know you’ll find gear that works well for you!
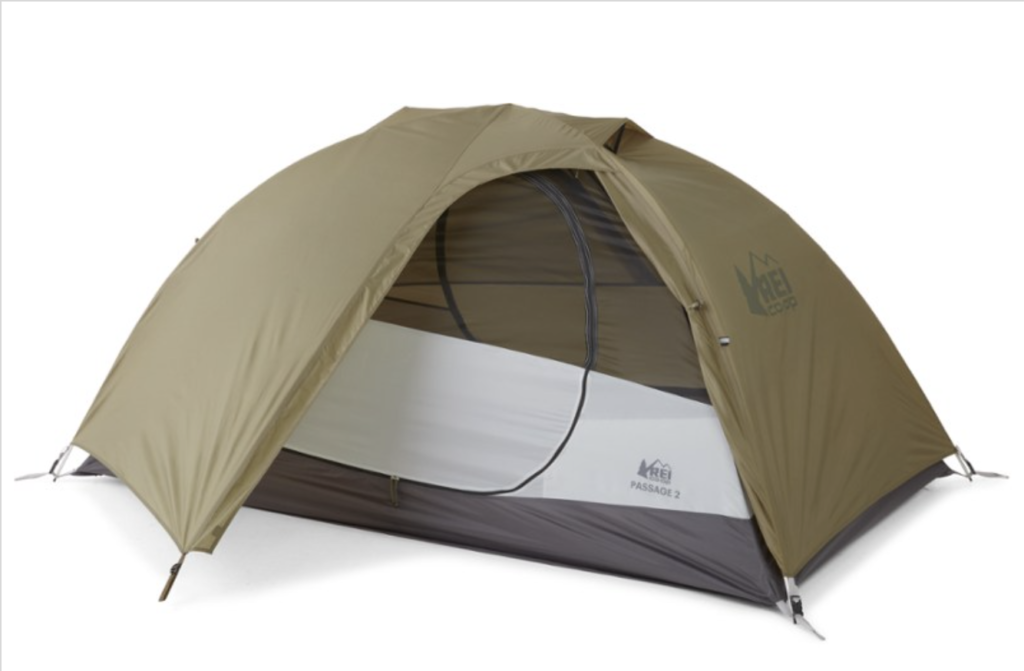
TENT TIPS:
What makes a tent a backpacking tent vs a regular tent? This typically has to do with weight and packed size! When shopping, I’d recommend looking for a tent around the 5 lb or lighter range. It will typically say ‘Backpacking’ in the description.
My tent is the REI Co-op Passage 2 Tent at around $160 and weighs around 5 lbs.
Other very popular tents:
Planning to share a tent with someone on your first backpacking trip? Me and my partner like to split up the tent and each carry some. Either the canvas or the poles. This makes it so we are each carrying only 2.5 pounds!
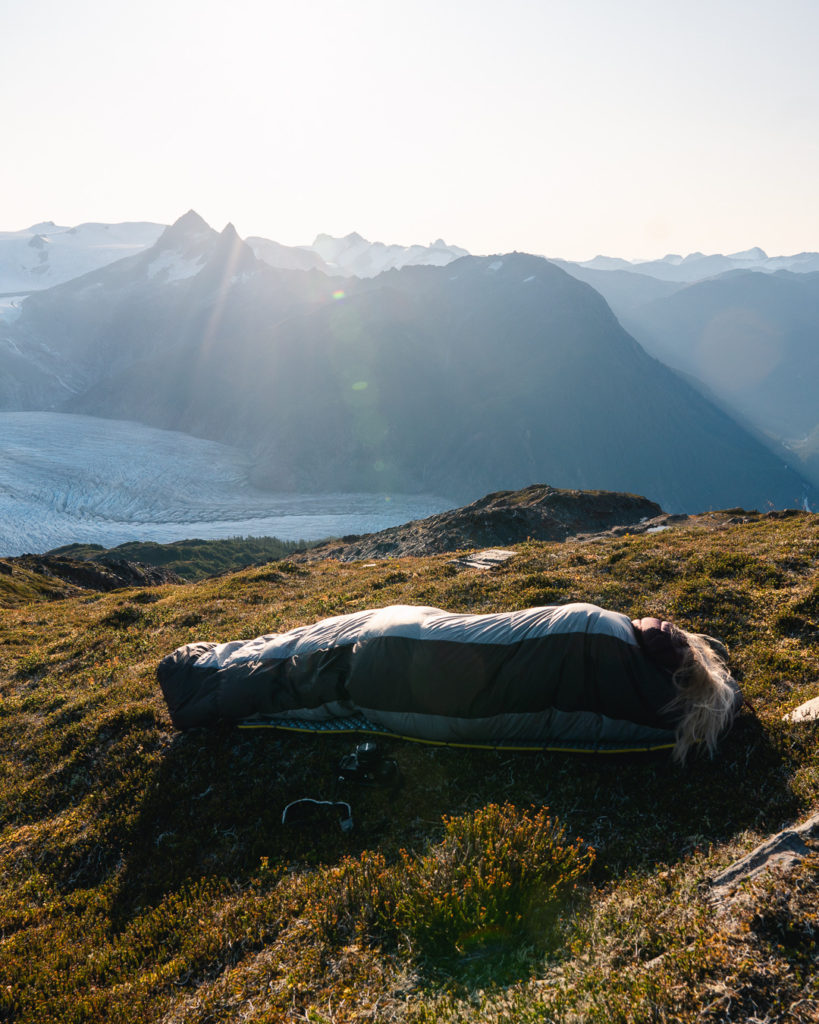
SLEEPING BAG TIPS:
When shopping for a sleeping bag specifically for backpacking, there are a few things to watch out for. The number in the product name indicates the temperature that you could use the bag. For example the Marmot Trestles Elite Eco 30 Sleeping Bag means that you could survive in 30 degree weather with this bag.
Generally the lower temperature bags like 20 degree and 15 degree bags are bulkier and heavier. If you are planning to stick to Summer backpacking, a 30 degree bag will work just fine (and cost a lot less). You can always add liners to increase the temperature tolerance of your bag like this Sea to Summit Reactor Bag that adds 20 degrees of warmth.
Weight Recommendation: 2 pounds or less.
How to Pack your Sleeping Bag:
When you purchase a sleeping bag, it comes in a large stuff sack. This is great for storing it when you are not using it, as it increases the life of the down when it is not compressed. However, when backpacking, you will want a compression sack to make the bag as small as possible to fit in your backpacking backpack.
I recommend the Sea to Summit eVent Compression Dry Sack – 14L. This dry sack makes my sleeping bag about the size of a soccer ball and can fit into the bottom zipper area of my bag.
How to find the right Backpacking Backpack for you:
There are a lot of things to consider when buying your first backpacking backpack. The number listed in a backpack product title is how many Liters it can hold. For example: Osprey Packs Ariel AG 65L Backpack holds 65 Liters – which is what I recommend starting with as a beginner!
The great thing about using a 65L bag is that you have lots of options. You can easily max this out for 4-5 day trips or use it for one overnight. You don’t have to fill the entire backpack and many 65L bags have options to take off the top part or “brain” of the bag to make it smaller.
As a beginner, it takes a bit to accumulate the smallest gear, so having a backpack that can accommodate what you bring as a beginner is important!
If you have access to an REI, I highly recommend going in to be fitted. They will show you multiple bag options and instruct you on how to properly fit your bag to your body, as most bags have adjustments some people don’t know about!
REI has a great video on how to properly adjust your pack!
All other gear recommendations:
For all my other gear recommendations and more information on why each thing is important click on my backpacking gear post (under the packing list infographic above!)
For hiking shoe and boot recommendations, see my post HERE
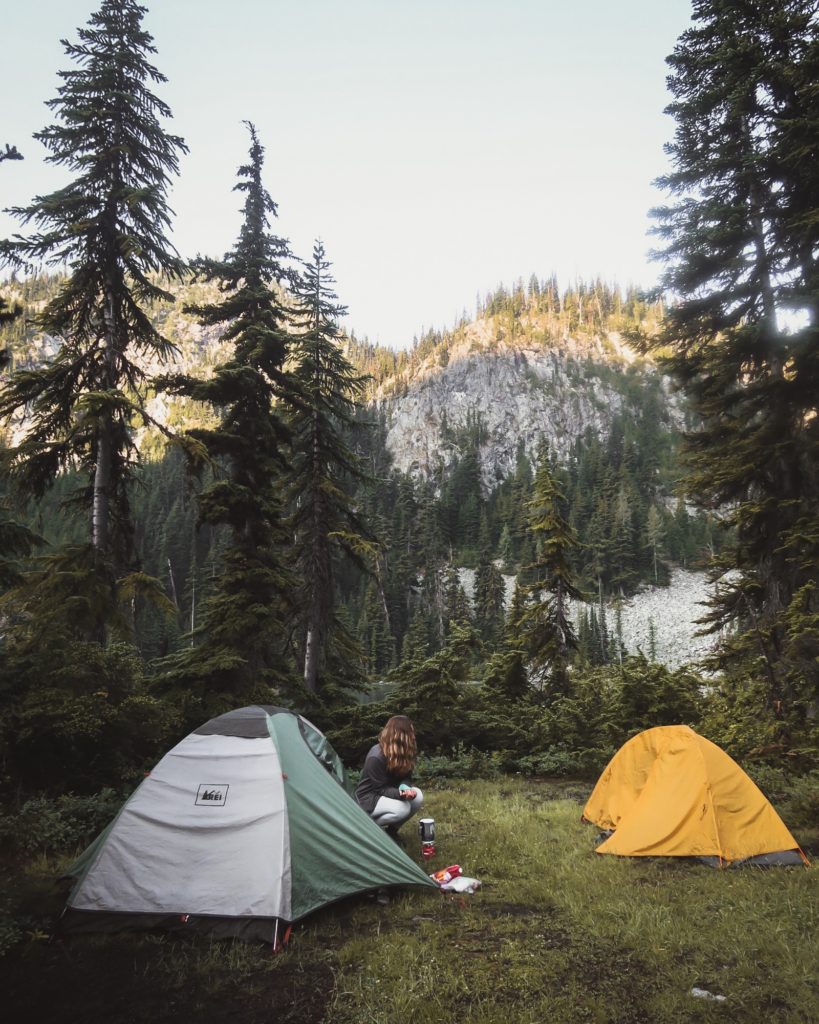
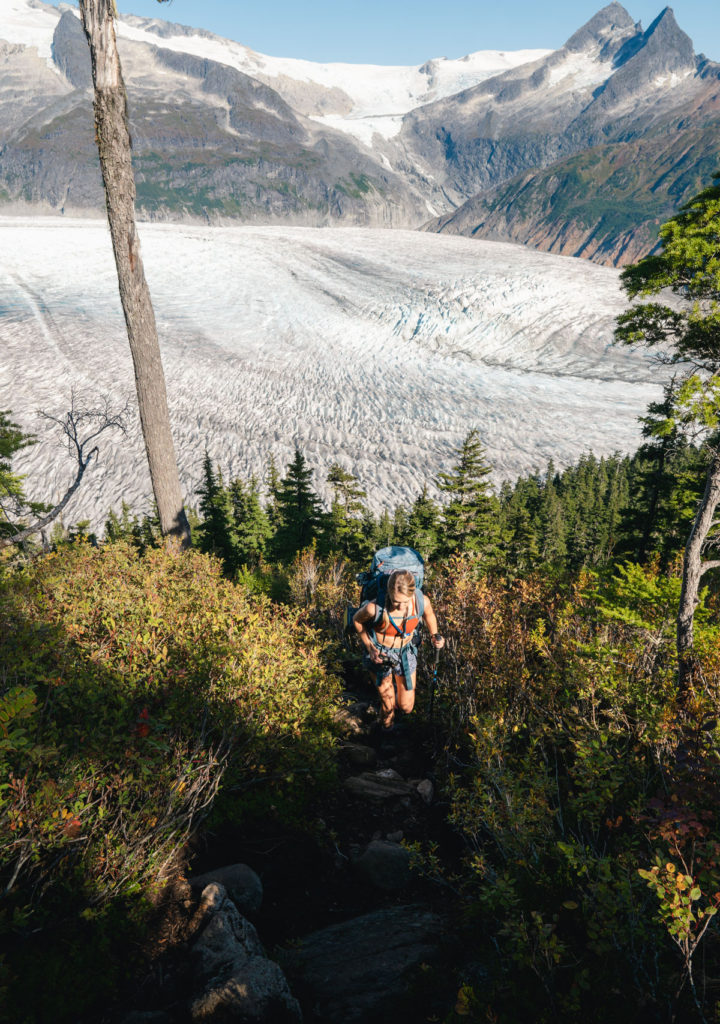
Backpacking Tips for Beginners Step 2: Choosing a Location

This is a big one to cover on the backpacking tips for beginners guide, so let’s get into it. The location you choose will most likely determine whether you will enjoy your first backpacking experience or not.
You may or may not already be well versed in finding trails. If you are unsure how to find trails, head on over to my blog post: How to Find the Best Trails
A few factors will help you decide on what trail will be best for you
- How many days/nights do you want to backpack?
- What mileage/elevation gain do you want to stay within
- Weather
- Are permits required? Bear Cannisters?
Consider a familiar trail
If you are already an experienced hiker, consider an overnight at one of your favorite spots (if it is allowed!). This relieves a lot of stress and anxiety for a first time backpacking adventure!
Keep it short and sweet
I’d also recommend starting with a shorter hike with mild to moderate elevation. On my first solo overnight, it definitely helped knowing my car was only a few miles away. And maybe just start with one night to really get acquainted with backpacking before committing to a longer trip.
Backpacking tips for beginners: HOW TO GET PERMITS
Permits are important to pay attention to! A lot of areas restrict how many people can overnight camp in one day to protect the environment and yourself. Rangers do patrol trails and fines can be up to $5000 if you are found without a permit.
Most of this information can be found on National Forest and National Park Websites. For a National Park, I recommend googling: Backcountry Reservations ______ National Park. This should lead you to all the info you need to make a reservation and find out what is allowed. Some National Parks (North Cascades, Mt Rainier) take applications for reservations in March with 60% of all permits being given out this way and 40% saved for walk up!
All Trails also sometimes includes whether a permit is required in the description text.
Recreation.gov has an interactive map of the areas requiring permits
Unsure if permits are required? Call the ranger station in the area you plan to go and ask!
Permit Tips
If you do score a permit online, you still need to go into a ranger station to turn it into an actual permit. They will give you a slip of paper that you need to then display on your pack while hiking and clip to your tent when you’re camped.
For areas that allow some walk up permits, you can generally reserve a permit 24 hours before the start date of the trip. I’d recommend calling the ranger station and asking if there is still availability and if so, it might be worth a drive out there the day before to secure the permit. Otherwise, you’ll want to be first in line the morning of.
Washington Specific Permit Info:
- Enchantments Permit Lottery Applications: Feb 15-March 1st
- North Cascades Permit Lottery Applications: March 3rd-March 15th
- Olympic National Park Permits: Rolling Basis 6 months in advance.

Step 3: Check the Weather
This is a VERY important ! There is always the potential for bad weather conditions, even in the summer, but especially in the mountains. It’s important to check more than just the standard weather app on your phone when checking trail weather.
My Two Favorite Websites to Check the Weather:
I also use my Garmin InReach Mini to check weather in real time out on the trail. A little rain is totally fine to go backpacking in if you don’t mind getting wet and are properly prepared. This will mean bringing extra dry clothing and making sure you have a rain fly for your backpack and a good rain fly for your tent as well.
If you find yourself caught in a full blown storm:
- move away from trees and other tall objects
- move to lower ground if you are on a peak or ridgeline
- stay away from water in case of lightning
I’ve been in some really bad rain storms and wind storms before and it can really suck. That’s why I usually bring my watercolor paints or a book I enjoy to pass the time.
Backpacking Tips for Beginners Next Step. 4: Plan your Food and Water
Water in the Backcountry
Obviously you don’t want to find yourself in a situation where you are not prepared with food and water. Firstly, find out if there are any water sources on the hike you chose. This will determine whether you will have to haul a lot of water in or filter as you go.
The general rule for water is to have 1 liter of water for every 2 hours of hiking. And the average person hikes 1 mile in 30 minutes to give you and idea.
Where can you find out if there is a water source while backpacking? AllTrails maps do include water sources in blue. Also, reading the reviews and description of a trail on AllTrails can help you determine if there is. If you are still unsure, contact the ranger station to plan accordingly. Whether or not you think there is water on the trail, it is still important to bring a water filtration system!
I personally like using the Sawyer Squeeze Water Filter System. It’s inexpensive and extremely lightweight. If you are not able to invest in a filtration system, you can bring water to a rolling boil and continue to boil for at least 1 minute.
NOTE: it is important that you filter your water to remove bacteria such as Giardia, cryptosporidium, and salmonella that can cause extreme illness very quickly.
Meal Planning in the Backcountry
I get a lot of questions about meal planning! I definitely don’t skimp on the food I bring. But I also have Irritable Bowel Syndrome and have to be careful what I eat.
SNACKS:
- Jerky or Salami, cured meats high in protein
- Tuna packets
- Packaged olives (trader joes has great ones)
- Baguette. Yep. I bring an entire loaf of french bread or a baguette. It is never not worth it me.
- Dehydrated veggie chips like Dirt Kitchen Snacks
- Dehydrated fruit. Mangoes are my favorite
- Granola Bars
- Trail Mix
- Peanut butter packets
Backpacking Meal Ideas:
- Mac and Cheese (Daiya Non Dairy for me!)
- Chana Masala. It is easy to find pre made pouches of yummy Indian food and pouches of ready to go rice ( I buy the brown rice packs and chana masala from costco)
- Freeze dried meals. These never fail to make me bloated, but the Backpackers Pantry Pad Thai is my favorite (and one of the few dairy free options for me). Mountain house is the most popular it seems. I’d definitely recommend checking out Patagonia Provisions food line. It is so much healthier than others.
- Ramen. Bring some veggies to spice it up! (I always bring a tiny hot sauce)
- Oatmeal
- Soup Packets. I don’t recommend cans. They are heavy and harder to pack out.
- Pizza! Make mini pizzas using pita bread, pepperoni, cheese, and any other toppings you want. Pour sauce into a reusable silicone bag.
- Instant Mashed Potatoes, but make them loaded with yummy toppings.
Get creative!
Step 5: 7 Safety Backpacking Tips for Beginners
1. Review The 10 Essentials
What are the 10 Essentials? Click HERE.
2. Create a Plan
Creating a plan means choosing the duration of your trip, picking a trail that is a good fit for you and your abilities as well as factoring in your physical health and mental health needs.
*This also includes informing a close friend or family member of your plan and what actions to take if you do not check in with them by a specific day/time.
3. Stick to your Plan
Sticking to your plan means people can find you a LOT easier if something goes wrong.
4. Physical Protection
As a woman, self protection is a big deal to me. Personally, I feel most safe and protected when I carry bear spray in an easily accessible side pocket of my backpack. I carry bear spray because I know that it can really stop any animal OR person that I may encounter where I would need protection. Another bonus of bear spray is that it can be fired from a distance.
Note: You cannot bring bear spray on air travel or across country borders. Prepare by looking up the closest outdoor store or Walmart when you get to your destination. Bear spray is usually around $50 for a one-use can. I have found it cheaper at Costco if you have a membership!
I also peronally like to carry a small knife in my backpacking hip belt pockets. It is so handy for many reasons, but again, it is one more protective item that puts my mind at ease. I also usually hike with one hiking pole to help my knees on the way down, but this could also easily be used as a weapon if needed!
This may seem excessive some people, and to others, not enough protection. If you are wanting more, I’d recommend taking a self-defense class. I really enjoy @adventuresofnik Instagram page that includes virtual outdoor self defense classes and more.
5. Emergency Plan in the Outdoors
In addition to checking your gear, packing the 10 essentials, and telling someone your plan, you may consider investing in a satellite device.
I personally own and use the Garmin InReach Mini. However, it is unfortunately $350 – yikes. If you are able to afford this – it is 100% worth it. Spot Gen 4 is another option at HALF the price ($150).
Having a Satellite device allows me to send an SOS to Search and Rescue and also texting abilities with my location pin without cell service.
6. Navigation While on the Trail
Use a Navigation App for your phone like AllTrails or Gaia is so important. These are the most affordable options at around $30 a year for unlimited offline map downloads. If you do not pay for the app, unfortunately if the app closes you may lose access to your map on the trail.
The Garmin InReach Mini mentioned above also has tracking and navigation systems built in to the device. It can be used on the device or through an app on your phone.
IMPORTANT NOTE: bring a backup battery power cell and cable to charge your phone in case your battery dies!! I know we want to be powered off of our devices on the trail, but having navigation tools available is so important. REI has a small one for $20 HERE that can give two complete phone recharges and a solar operated one for $50 HERE.
7. Educate Yourself!
There are so many wonderful resources on the internet to help empower us to backpack safely! Here’s are some things to educate yourself on before your first time backpacking.
Animal Safety while hiking alone
Spend some time on YouTube learning how to use your bear spray. Other general bear safety to educate yourself on – what to do if you encounter a Black Bear vs a Brown Bear or a mountain lion. And how to properly store your food at your campsite
I have encountered bears over 5 times on the trail and have never had any issues. Just because you see a bear doesn’t mean anything bad is going to happen, but it’s good to be prepared and know what to do.
Note: a tip for avoiding animals is make noise while you are hiking. Some people buy bear bells to attach to their pack (they personally drive me nuts). If you are in a group or on a busy trail this isn’t as big of a concern.
Medical Knowledge on the Trail
If you read the 10 essentials, you’ll know you need a first aid kit packed! Not only pack it, but make sure you actually know how to use it!
There are tons of YouTube videos and books that can offer education on this.
REI offers a lot of information and also Wilderness First Aid Courses starting at $250 HERE if a class is more your style.
TIP: My friends that are nurses taught me how functional super glue is for skin wounds and gashes. So add this to your first aid kit!
Here are a few resources to get you started:
- She Explores: Wilderness First Aid Basics
- Gear Junkies: Wilderness first aid tips and tricks VIDEO
- Wilderness First Aid Field Guide $30
Step 6: Hygiene While Backpacking
I remember being real nervous about pooping in the woods for the first time HA. I promise it is not as weird as it sounds if you’ve never done it.
- Dig a hole at least 6″ deep and in diameter. MAKE SURE you are at least 200 feet away from campsites and any water sources
- Squat over the hole and keep your toilet paper handy! I discourage using wipes as they do not decompose easily.
- Use an antimicrobial pee cloth instead of toilet paper like the ones by Kula Cloth.
Other Hygiene Tips:
- Bring face wipes to remove sunscreen, bug spray, etc. But make sure you pack the used ones out!
- Dr. Bronners soap is considered biodegradable and environmentally friendly. I use this if need to really wipe down (especially if I may have encountered poison ivy). And I also use this to wash dishes.
- If you wear mascara or eye makeup on the trail, I like to presoak some cotton balls in eye makeup remover and keep them in a ziploc bag.
- Bring a moisturizer! I like to bring a small bottle of Argon oil for my face and skin.
- Wear your hair in a braid to prevent extreme tangles. I like to bring a small brush or comb.
Step 7: Respect the Environment
There are a few things to keep in mind when practicing leave no trace while backpacking!
- Keep to existing trails and used areas on popular trails
- Camp at least 200 feet from lakes and streams. I see this one violated a lot.
- When in relatively untouched areas try to camp on durable surfaces like rock, gravel, dried grass – areas that wont leave an impact
- Dispose of waste properly (see above!)
- Pack EVERYTHING out. That includes apple cores, banana peels etc.

Final Step: Sleeping in the Outdoors
Read all of my sleeping tips in my Solo Backpacking Blog Post
My biggest piece of advice for sleeping in the backcountry is to do as much of your normal bed time routine as possible. I also try to stop drinking water after dinner so that I don’t wake up having to pee in the middle of the night. but check out all my tips in the link above.
Summary of Backpacking tips for beginners
I know this was a lot of information in this beginners guide to Backpacking and I hope you’re feeling more prepared!
We covered:
- What to pack for your first backpacking trip
- How to choose your first backpacking location
- Safety in the backcountry
- Meal Ideas and Preparation
- Leave No Trace and more!
If you have any additional questions, please leave them in the comments below!
Save and Share for Later!


