| Filed in Blog, Photography | Disclaimer: I use affiliate links and may receive a small commission on purchases. | Leave a Comment
I have been obsessed with film photography for quite a few years now. In fact, my guide to getting started with film photography has been very popular since it was published. Everyone wants the candid film vibe for their memories. But I’m going to be honest, film photography is EXPENSIVE and really tests my patience with having to wait a couple weeks to get scans back. So I’ve been working on ways to create digital photos that replicate that same nostalgic-vintage effect that film brings. And I’m happy to report that I have fooled MANY people into thinking my photos were film. So let me share my secrets of how to edit photos to look like film!
Why the Obsession with the Vintage Look?
Nostalgia is a human experience that has been shared through storytelling and photography for many years. It really taps into the core of memories we are fond of and emotional moments that bring us joy. I look back at old photos my parents took and it absolutely makes me emotional. A time capsule of a chapter of life we miss parts of. It makes sense that this filmic look is trending. I think we all long for simpler times and moments.
I’ll admit, it feels silly to have expensive camera gear and then to intentionally downgrade the quality to create a vintage aesthetic I want haha. But I’m going to let you know right now, you do NOT need expensive gear to achieve this. And I’ll be going through lots of different gear options (that you probably already have!). I personally am very tired of the HDR, super detailed, crisp photos that our phones and cameras take. I’m always going out of my way to work against this. So let’s get into it!

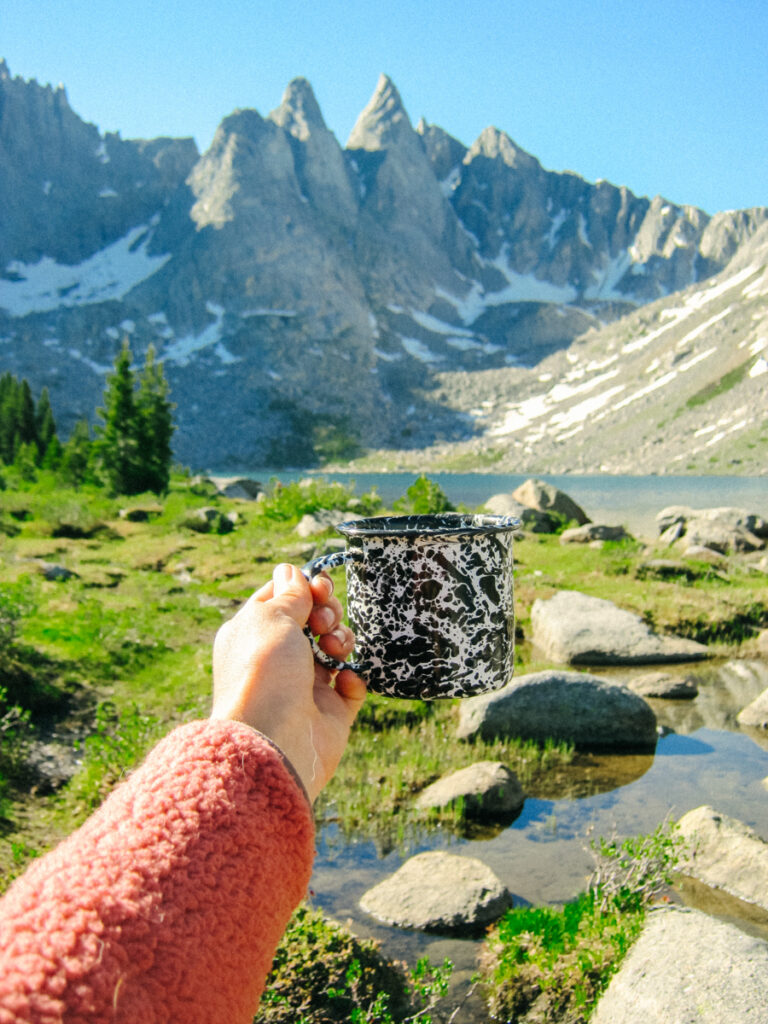


What makes a photo feel vintage: What effects are we trying to achieve?
Ok, so let’s chat about what elements of a photo we need to adjust in order to create the look we want. How to Edit Photos to Look Like Film:
1. Warmer White Balance
Obviously there are many different film stocks and film looks we could attempt to achieve here. So, a lot of this will be personal preference! For reference, my favorite film stock is Portra 400, so that is what I am basing a lot of my style and editing choices around.
The white balance of a photo is essentially the color balance based on what is considered “true white” in a photo. This can be done while taking the photo, in post while editing, or both!
In general for film photography, the white balance of photos leans into warm tones. There are several ways to warm up a photo.

- Bump up the temperature in Lightroom or your editing app of choice. If you want that intense film “yellow look” this is where you will really start to see that come to life. I keep mine on the more subtle side as I do not like when skin tones look too yellow.
- Filters for your lenses! If you are shooting with a “professional camera” – I HIGHLY recommend investing in some filters for your lenses. Simply look at the size on the lens (ex 72mm, 82mm). This will soften and warm the photos before they even get to your computer. My favorites are the Tiffen Warm Soft Fx and the Prism Nostalgia Filter you can also buy an adapter for your phone to attach filters. Phone cameras are absolutely a tool you can use to get all of these looks.
- You can also change your white balance in camera. On an iphone in the camera app, swipe up and click the three overlapping circles. You can then choose a look that is based off of different white balance options. In your camera, go to your white balance settings and test out the various preset modes they have OR create a custom setting by manually setting up the Kelvin temperature. For warmer photos, aim for a lower Kelvin (K) temperature, try out something between 2000K and 3200K. This will take some experimenting and trial and error.
2. Lighten up!! Shadows and Contrast
Another major element of film photos is that they usually have lifted shadows and decreased contrast.
- Play around with the contrast adjuster in Lightroom or your choice of editing app. For shadows – you can adjust these with the slider adjuster in the Light tab OR for an even more custom look, try lifting the shadows on the tone curve. To achieve that vintage vibe, you’ll want to aim for a subtle S curve. Compressing the highlights and lifting the shadows.
- Filters for your lenses! As mentioned above, filters can really do a lot prior to getting your photos into an editing software. The filters I linked in the above section also soften the image and contrast in addition to warming up the image.
- Nail the exposure! You’ll want to make sure you’re exposed properly for the subject, otherwise you will be pretty limited on what you can do in post with editing. Make sure your highlights are preserved and that the subject is not too underexposed. An underexposed photo will create a lot of noise when lifting the shadows and not in a “vintage aesthetic” kind of way haha. ND filters are also incredibly useful for protecting the highlights while staying properly exposed for the subject.
3. Greens and Oranges!
Film, especially portra 400, leans into specific color shifts that really make film so identifiable. The greens typically lean more towards the teal spectrum and are vibrant, yet desaturated in a way (play with the luminance!). And red tones often lean a bit on the orange side. I recommend looking at your favorite film photos or photos you like the vibe of and really look at these colors and then use the color wheel in Lightroom to attempt to mimic them!

4. Adding Grain and Texture: How to Edit Photos to Look Like Film
I think this final step of adding grain and texture to photos is what really fully convinces people something is film and pushes photos into that nostaglia feeling. There are many ways to do this and I’m going to share my favorite tools to do so!
- adding texture and grain in Lightroom. In the effects tab, select grain and play around with the size, amount and roughness. I like to keep it subtle, but typically enjoy the grain around 20, size around 40 and roughness at around 50 to start. If you want the formula and variations to play with or learn from consider my photo presets 🙂
- Tezza App. This is such a good app to get retro and filmic styles on your photos! Their Film Filter is excellent and I also really enjoy their camera filters like Polaroid, Disposable Camera, and Solare 17.
- VSCO App. This is a classic for millennials. Filters like A6 and so many others have the shadow lift and built in grain and texture.
5. Consider using Flash
If I am sticking to phone photography or using a digi camera, adding flash really makes it feel like you just got film back from a disposable camera. I like to add flash in harsh lighting as well to even out the exposure and bring a retro aesthetic to my photos!


6. Bonus: add light leaks, dust, or film border overlays!
If you really want to lean into the film effect and add a film border, light leaks, dust, etc – this will really add to the style of the overall photo! My original film camera used to create light leaks ALL THE TIME and then I got it fixed and I kind of missed the bit of edge it gave certain photos. You can add in these effects in Adobe Express, Filme App, and the Tezza App.

The Best Tools and Gear to Edit Photos to Look Like Film:
There are a LOT of tools and apps out there and it’s hard to know what’s worth downloading and learning to use. I’m going to share my go-to tools that I use to get all of the film vibes for photography:
- Lightroom. LR will always be my go-to. Especially for achieving the base look I want with colors, tones, shadows and contrast. You can also add presets from your favorite creators here and build your library of very aesthetic looks that will bring a quality that other apps may not achieve.
- Photo Presets! (check out mine here!) if you have a favorite photographer on social media as your inspiration – odds are they sell photo presets and it’s a great way to get a look you love and suppport artists.
- Tezza App. This one has become a favorite of mine. More for the effects that I can add to my already edited photos. After editing in lightroom with my presets, I’ll bring the photos into Tezza to add film borders, dust, and other stylistic effects.
- VSCO App. A classic photo editor thats been around for years. Get many different looks and filters here.
okay and now onto camera gear…


- Kodak Pixpro. This affordable point and shoot camera starts you off with a very “disposable film camera” vibe. Add on some film photo presets and you’ll be fooling everyone. This is what I have been consistently doing on social media for photo dumps and always get at least one comment asking how I got film back so fast haha.
- Warm/Soft Filter. add this filter to your camera lens for a softer, more filmic look. Also check out the Prism Nostalgia Filter
- ND Filter. use an ND filter on your camera lens to soften highlights/whites to decrease the overall contrast. Also check out the Cinebloom VND that combines ND and a soft film look.
- Light Leak Lens. This affordable lens attaches to a camera you already have! It gives a vintage look to your photos and videos.
- Vintage Lens Adapter. Use an adapter to use your film camera lenses on your Sony, Canon Camera, etc. I use this adapter to use my old minolta film lenses on my Sony a7siii camera and I love the look it gives.


Using Film Lenses on Mirrorless Cameras
This is a bit niche, but my favorite photography hack. It amazes me how few people know about this! A few years ago, I figured out that you can buy an adapter that will allow you to use your film lenses on your mirrorless camera. This started a full obsession for me.
Not only does this allow you to get a vintage feel to your photos, but buying old film camera lenses is WAY cheaper than buying new modern lenses. I picked up a 135mm minolta lens for $40 on ebay, and I absolutely LOVE how the photos and videos turn out from it.
Here is the adapter I use: lens adapter, but make sure you know what mounts your lenses are so you can buy the right one! This particular one is Minolta (MC/MD mount) to Sony (E mount).
where to buy vintage lenses? EBAY! I have had consistent luck with all lens purchases here. Just make sure to thoroughly read the descriptions of the condition of the lenses. If you live in a major city, also be sure to stop in to your local film camera store and see what lenses are available there as well.
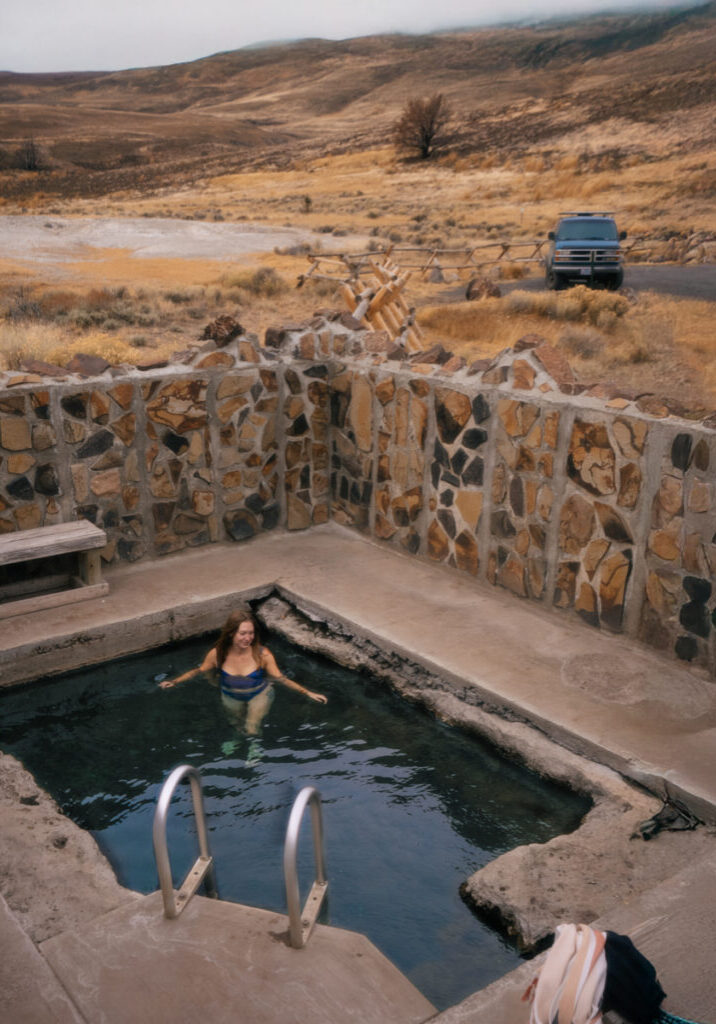
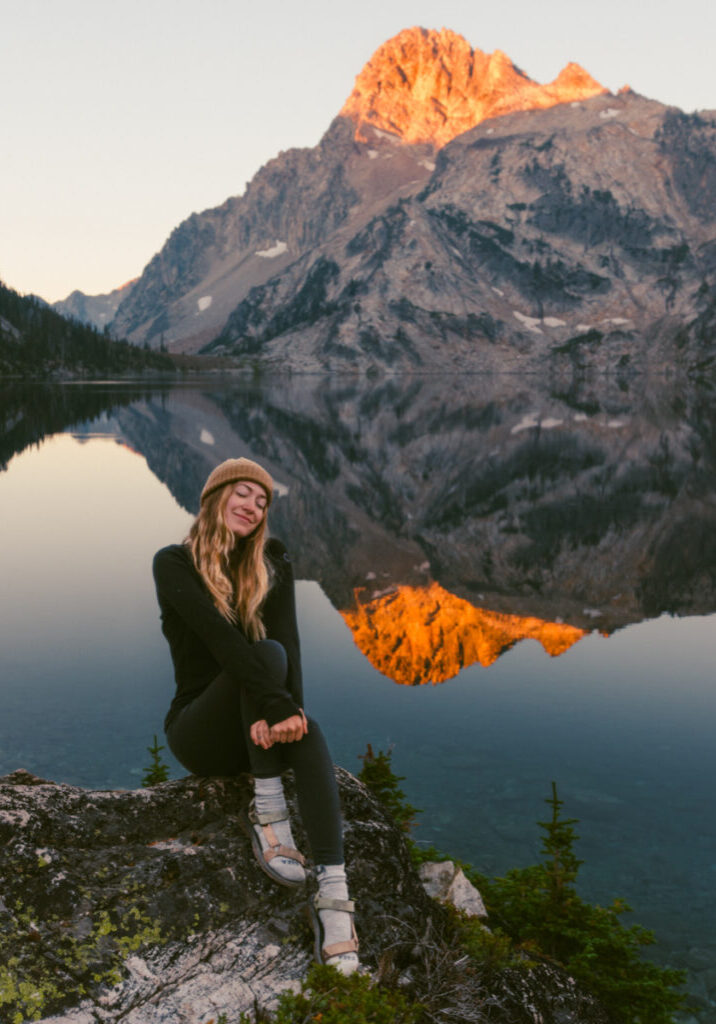
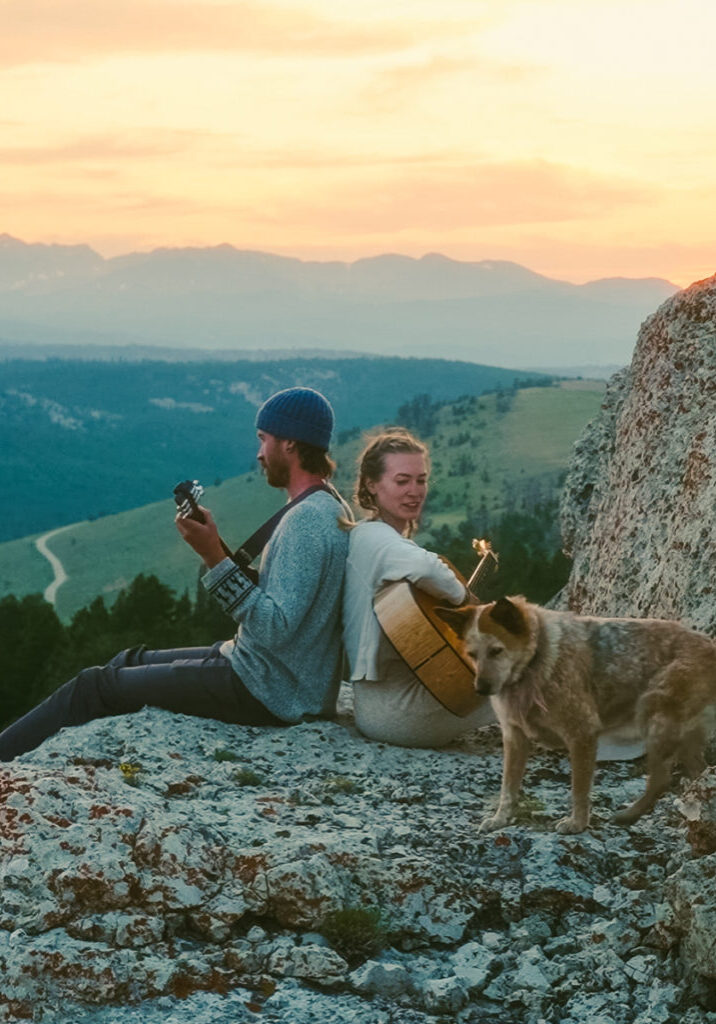
Here are some photos I have taken with my Sony A7siii mirrorless camera with a vintage film camera lens:


Conclusion: How to Edit Photos to Look Like Film
Sorry if this was information overload haha. There are clearly MANY MANY ways to achieve that nostaligic, vintage vibe for your photography. I hope you enjoy playing around with these methods and combining tips that feel right to you! Remember – the goals is to enhance your memories so that you love looking back on little moments in life even more.
Are there any tips or methods that surprised you?
Thank you for your support! Share and Save for Later!


