| Filed in Blog, Norway | Disclaimer: I use affiliate links and may receive a small commission on purchases. | Leave a Comment
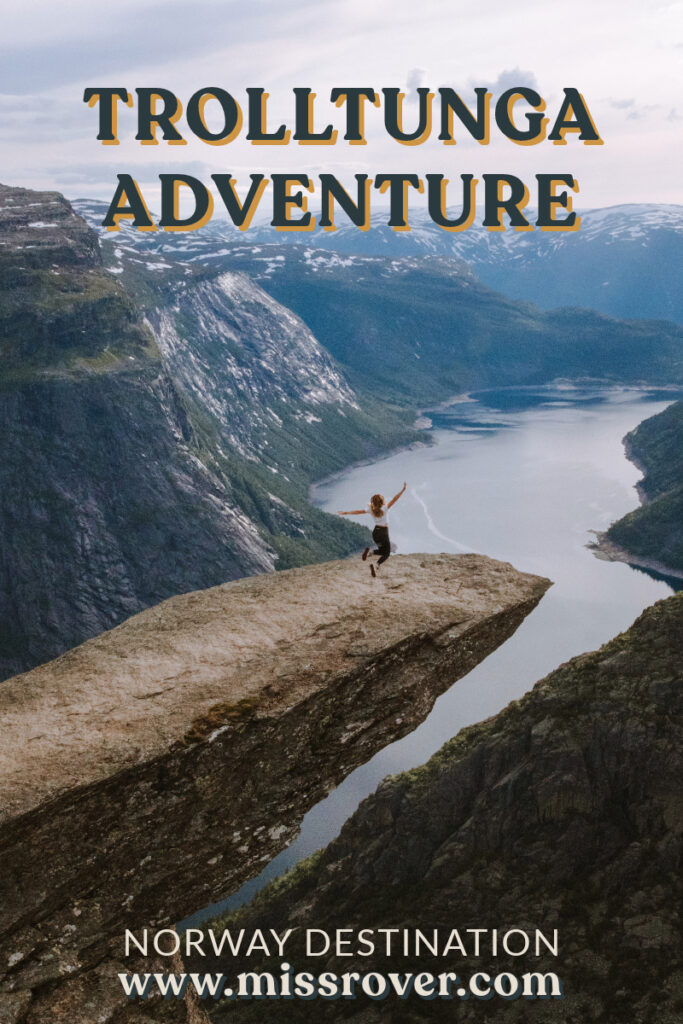
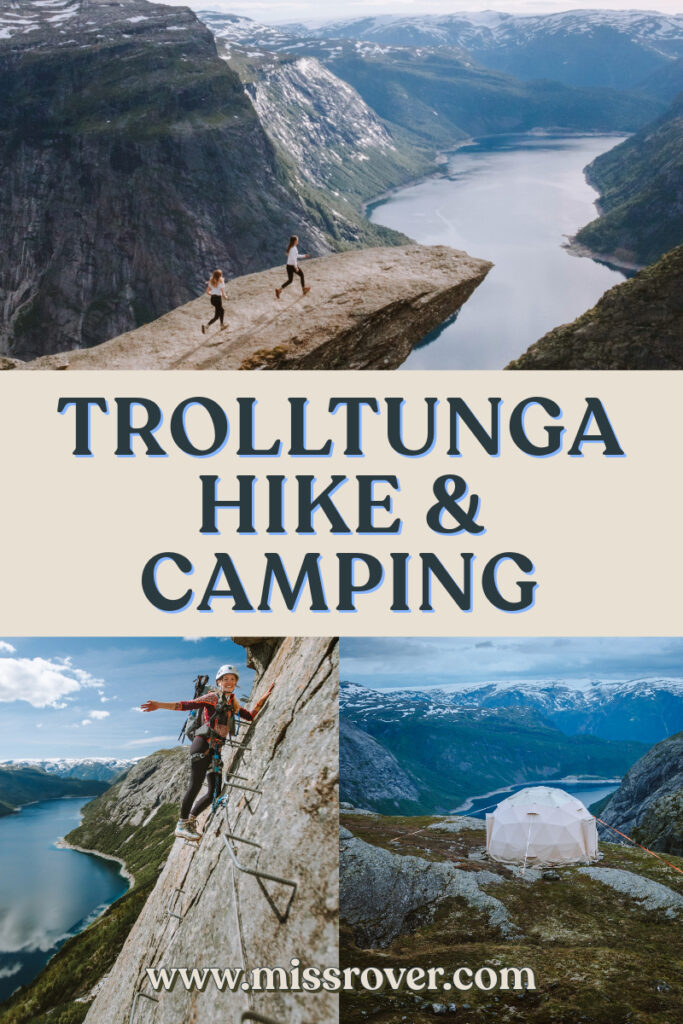
The Trolltunga Hike is the most popular hike in Norway, and for good reason. The famous cliff that was carved out by receding glaciers many years ago, now overlooks a picturesque fjord. It truly is a bucketlist view, and one of the first photos I think I ever saw of Norway. There are so many ways to experience the Trolltunga in Norway. And I’m going to cover all of them and the pros and cons of each. So if you’re looking for info on Trolltunga camping and the Trolltunga Via Ferrata – you’ve come to the right place!
- Trolltunga Overview
- Getting There:
- Trolltunga Hike Vs. Trolltunga Via Ferrata
- Trolltunga Hike Overview:
- Trolltunga Via Ferrata Overview:
- Day Hike VS Overnight Trolltunga Experience:
- Day Hike Experience
- Overnight Trolltunga Camping or Glamping Experience
- Trolltunga Active Domes Overnight:
- Trolltunga Camping Rules: Unguided
- Photos at Trolltunga: What to Expect
- How to Avoid Crowds at Trolltunga/ is it worth it?
- Where to Stay During Your Visit:
- Recommended Itinerary:
- Conclusion:
Photos in collaboration with Disa Wold
Trolltunga Overview
Here are the ways you can experience this famously stunning place on your Norway Trip:
- Trolltunga hike in one day (roughly 10-12 hour day). Guided or unguided options.
- Trolltunga Camping (backpack up, camp overnight). Guided or unguided options.
- Trolltunga Via Ferrata day excursion. Guided or unguided options.
- Trolltunga Domes Glamping (hike up or climb via ferrata). Guided option only.
Trolltunga means Troll Tongue and there is a lot of fascinating folklore behind the story of this name that I won’t begin to try to explain in this post! I feel it is definitely appropriately named, as the Trolltunga rock formation sticks out 700 meters or 2,300 ft above the lake below. It quickly became popular amongst tourists when the locals began guided tours near Hardangervidda National Park.
Getting There:
The Trolltunga hike and any other Trolltunga excursion begins in Skjeggedal-Trolltunga, just 20 minutes outside of Odda.
Odda is the main hub where you will want to get transportation to, hotel or camping reservations, etc.
How to Get to Odda:
- The easiest and cheapest way is to take a bus from whatever city you are currently in if nearby through Skyss.
- You can fly into Bergen and then take the bus or rent a car for the 3 hour drive to Odda.
- Rent a car from Oslo
We rented a car from Oslo since we were on a tight deadline to fly out of Oslo after this experience. It was a LONG but pretty 5+ hour drive. Rental cars are very expensive in Norway, so this is definitely not the best budget option.
How to Get to the Trailhead:
There are a few options to get to the trailhead. If you have your own vehicle, simply drive to P2 parking lot using google maps. With a guided tour, they will get you to P3 for a closer start either by shuttle or . If you are not taking a guided tour, a shuttle runs from P2 to P3 to save you a couple hours of uphill hiking.
- Shuttle from the Odda Taxi Central in downtown Odda to P2
- Taxi from your hotel (I recommend reserving in advance!)
Tip: If you are doing a guided tour, you will meet the night before with the group and your guide. A lot of people connected and carpooled the next day
Parking Fees:
P1 has 220 spaces, but requires a shuttle to get to P2 (the Main trailhead). Prices are NOK 300 ($29 USD) for same day and NOK 500 ($48 USD) for 2 days (if you are overnighting!).
P2 is where you are required to meet if you are going on a tour with Trolltunga Active. There are 180 parking spaces. Prices are NOK 500 ($48) for same day and NOK 700 ($67) for 2 days.
P3 has to be reserved in advance if you are to park there. There are only 30 spaces available for pre-booking and it seems from the website that you can only do same day. This would be great if you are doing the Trolltunga Hike in one day without a guide.
Trolltunga Hike Vs. Trolltunga Via Ferrata
I will be reviewing both in detail below so you can make an informed decision on which route is best for you. Then you can decide whether to plan for a day excursion or an overnight, which I will cover later. in this post.
Trolltunga Hike Overview:
- The hike is 17 miles round trip or 28 kilometers with 4000 ft gain (if starting from P2 parking). More information later in this post on how to save yourself 4.5 miles and 1,000 feet by taking the shuttle to P3. P3 will save you one to two hours of hiking.
- Trail is exposed to the elements pretty much the entire time.
- Toilets at trailhead, but not along the hike. Make sure when using the bathroom along the trail to go downhill of the trail and far away from any water sources.
- Water sources – fill up at the trailhead. There is a couple streams and natural water sources towards the middle and end. We did not use a filter. The locals told us it is incredibly fresh and it sure tasted that way.
- June-August (October-May only with a guide)
Guided Trolltunga Hike Vs Unguided:
There are pros and cons to doing this hike guided. I’m going to break down the variables so you can decide if this is best for you.
Guided Pros:
- The guides are very knowledgeable about the history of the Trolltunga
- Photography assistance. Our guides actually rappelled down the cliff to get a “better angle”
- Option to stay in the Domes overnight
- Gear available, private transportation from P2 to P3
Guided Cons:
- You have to stick with your group for the most part. Could result in a very slow pace
- I think the biggest con is the cost. You will save a lot of money going unguided. Remember only June-August is possible without a guide.
Unguided Pros:
- If the weather is bad, you aren’t locked in to specific dates.
- You can go at your own pace
- Saves $
I’ll cover overnight options later in this post. First it is important to decide between Hiking and the Via Ferratta Route.
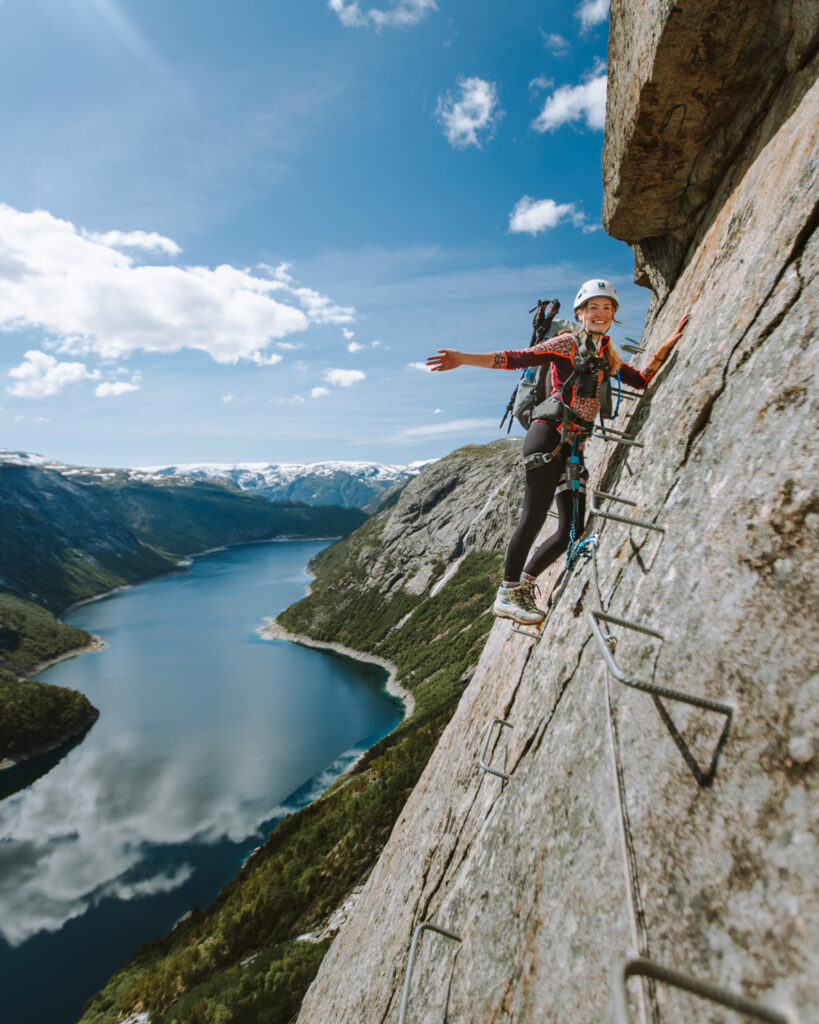
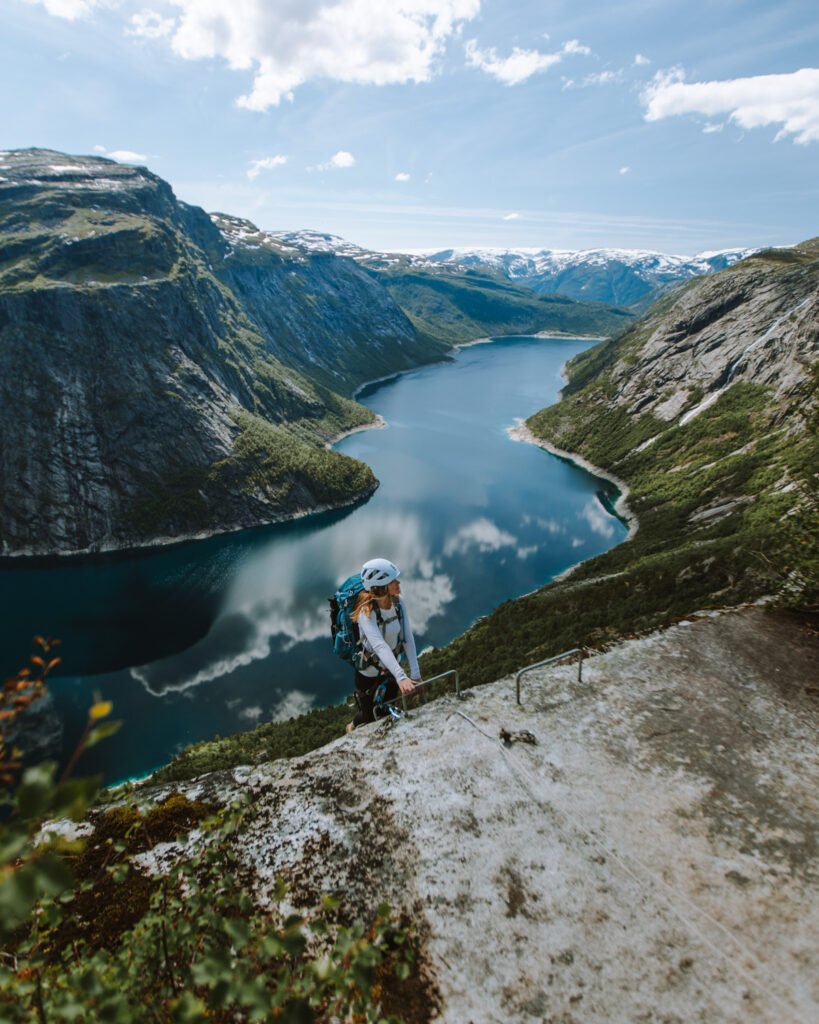
Trolltunga Via Ferrata Overview:
- You climb the via ferrata up 2,625 ft, and then hike a couple miles to the Trolltunga rock formation
- It is considered advanced difficulty physically. It is NOT considered a technical via ferrata. I have very little climbing experience and did this. You will be climbing for 3+ hours after a short, but steep hike.
- The views are INCREDIBLE. I climbed up and hiked down. And while the hike has its scenic moments, it is nothing like the views on the via ferrata climb.
- Gear is included with guide service, but you will need to bring hiking boots, appropriate clothing for weather forecast, and a backpack around 35L.
- This really is a bucketlist way to experience this place. I think the climb stands out more in my memory than the actual trolltunga rock formation haha.
The via ferrata route takes a little bit longer than the hiking route. 8-12 hours total if doing one day.
How Difficult is the Via Ferrata?:
Fear of Heights. I have a moderate fear of heights and this was really challenging for me. More-so mentally than physically. I’m glad I did it, but I had a lot of really tough moments. The climb is VERY exposed and has some challenging parts. They said it is designed to be a “fun” via ferrata experience that is not technical. My friend that loves climbing really enjoyed it and found it to be easy as far as climbing goes.
It is like climbing a ladder most of the time, and you are clipped in the ENTIRE time. But there are some sections that veer off at strange angles and made for some high blood pressure moments for me.
If you are unsure if you would be able to manage due to a fear of heights, I’d recommend going to a indoor climbing wall, and if you can push through moments of fear there on a relatively easy top rope climb, you can handle this. But I will say, the exposure is pretty jarring.
Day Hike VS Overnight Trolltunga Experience:
This is the big decision you have to make! Obviously an overnight experience requires a bit more planning and money, but it can be 100% worth it.
Day Hike Experience
If you are on a really tight schedule, but want to cross seeing this spectacular rock formation off your bucketlist, then the day hike is for you. Hiking to the Trolltunga and back in one day is a LOT physically. Again, it is 17 miles round trip with 4000 gain from the P2 Parking area.
For the day hike, you would need to start before 8 am to allow for enough time to get there and back. This usually puts you at the Trolltunga photo spot right around when the crowds get there too. Waiting in line for photos is to be expected when doing a day hike experience.
Overnight Trolltunga Camping or Glamping Experience
To me, getting to stay overnight was so much fun. I stayed in the domes through Trolltunga Active and had SUCH a great time. Staying overnight allows you to go to the photo spot closer to sunset, or after all the crowds have left. We barely waited in line for photos.
Another positive of doing an overnight here is that if the weather is too foggy to see the view at sunset, you could try again at sunrise for another chance.
I was so worn out physically and mentally after climbing the via ferrata that I was SO grateful to be staying overnight. The food the guides prepared was incredible and the domes or camping are very scenic.
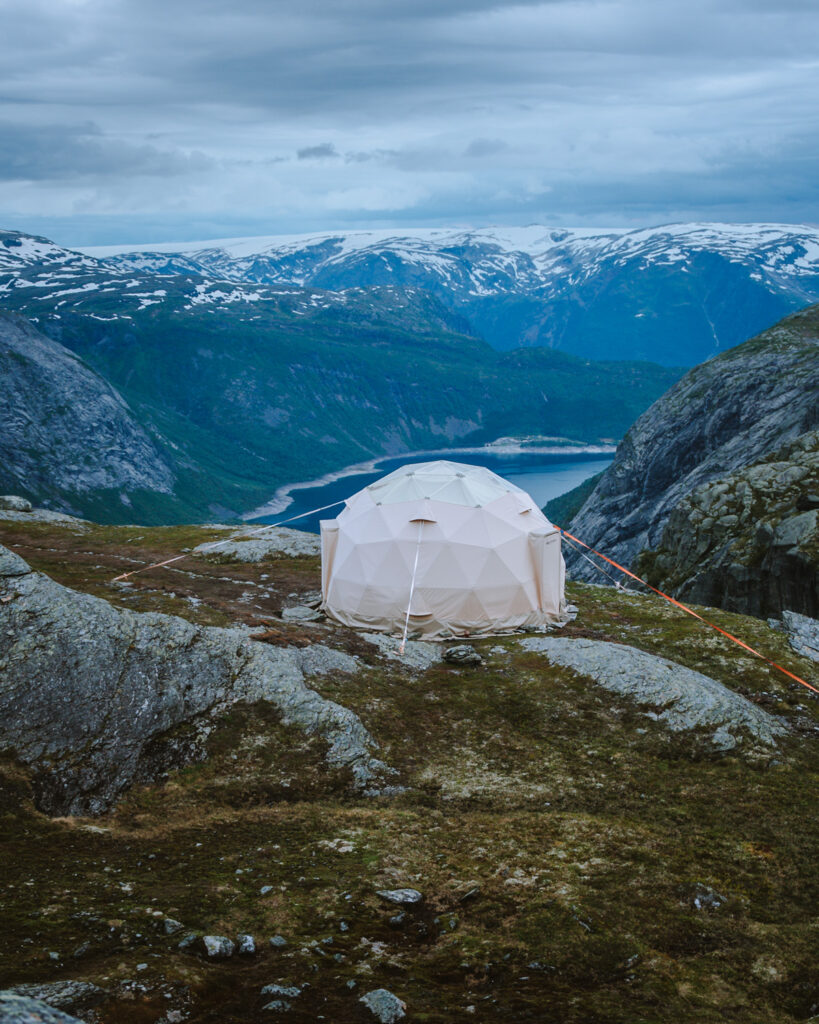
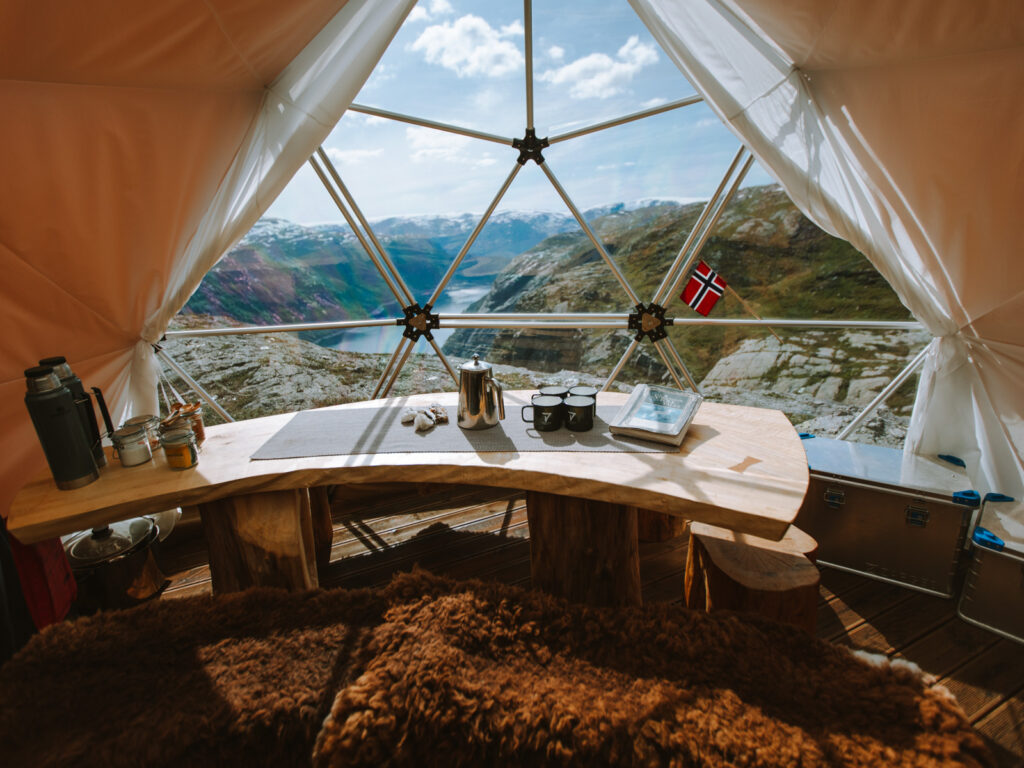
Trolltunga Active Domes Overnight:
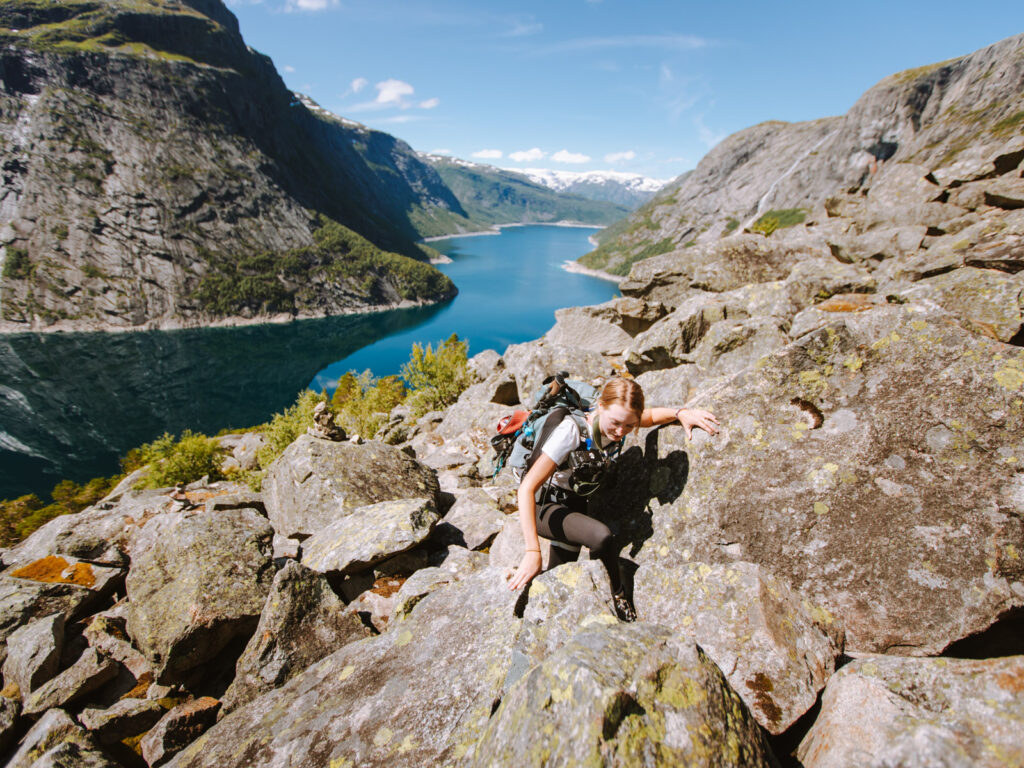
I wanted to give a brief summary of my experience in the domes. There were 3 domes at the top. Most of our group of 13 or so people hiked up in the morning to the domes. Me and 2 other women climbed. the via ferrata with our guide and arrived not too long after the hikers arrived.
We got to settle in to our domes (you will be sleeping with strangers in the dome!), relax for a little and then we headed off to the Trolltunga view. It was a couple miles to hike from our glamping site. We went with 2 guides while one guide stayed back and started making dinner.
Dinner is frozen meals that the Trolltunga Hotel restaurant provides. You get to pick the day of the hike and you carry it up. I had the vegan option and it was lovely. The guides opened a bottle of cider and we all shared in a lovely night of getting to know each other.
There is a bathroom up at the domes. It is a rustic composting toilet. They have wood shavings to sprinkle over and it actually smells clean in there! and it has QUITE the view too haha.
Sleeping bags are provided and it is a comfortable sleeping set up. We went during July, so it really didnt get dark out until 2 or 3 in the morning. I recommend a sleeping mask and earplugs for sure.
The next morning, breakfast was provided and we began the hike back down! A lovely experience that I’ll never forget.
Trolltunga Camping Rules: Unguided
If you brought your own camping gear or decided to rent gear from Trolltunga Active, there are just a few rules to know!
- only pitch your tent downhill from the trail
- Pack EVERYTHING out. including toiletpaper.
- stay away from streams and water sources
- stick to designated camping areas as indicated on the map. And be sure to obey signage.
- no camping at or near trailhead
- opt to put your tent on rock rather than soft dirt or vegetation that might contribute to erosion or damaging an area.
In general, just be respectful of the land. This place sees thousands of visitors every year, so doing your part to leave no trace is important.
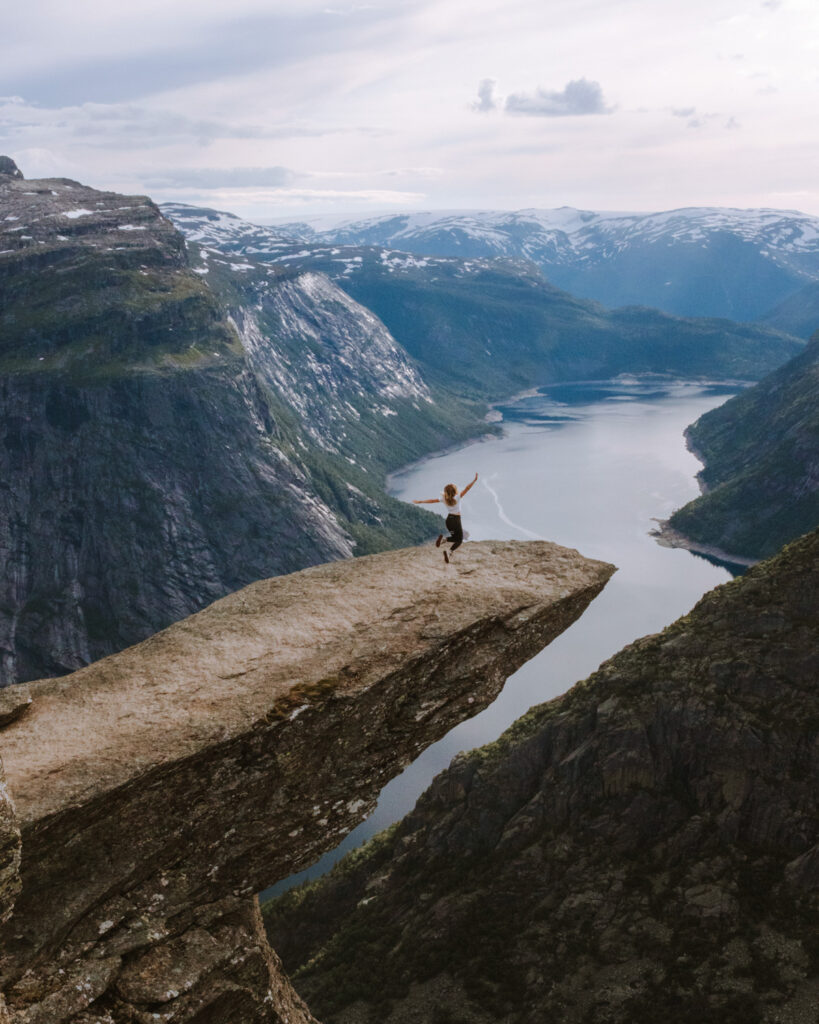
Photos at Trolltunga: What to Expect
While seeing the Trolltunga rock formation is an incredible experience, most people do want their photo evidence! So I’m here to give you all the tips!
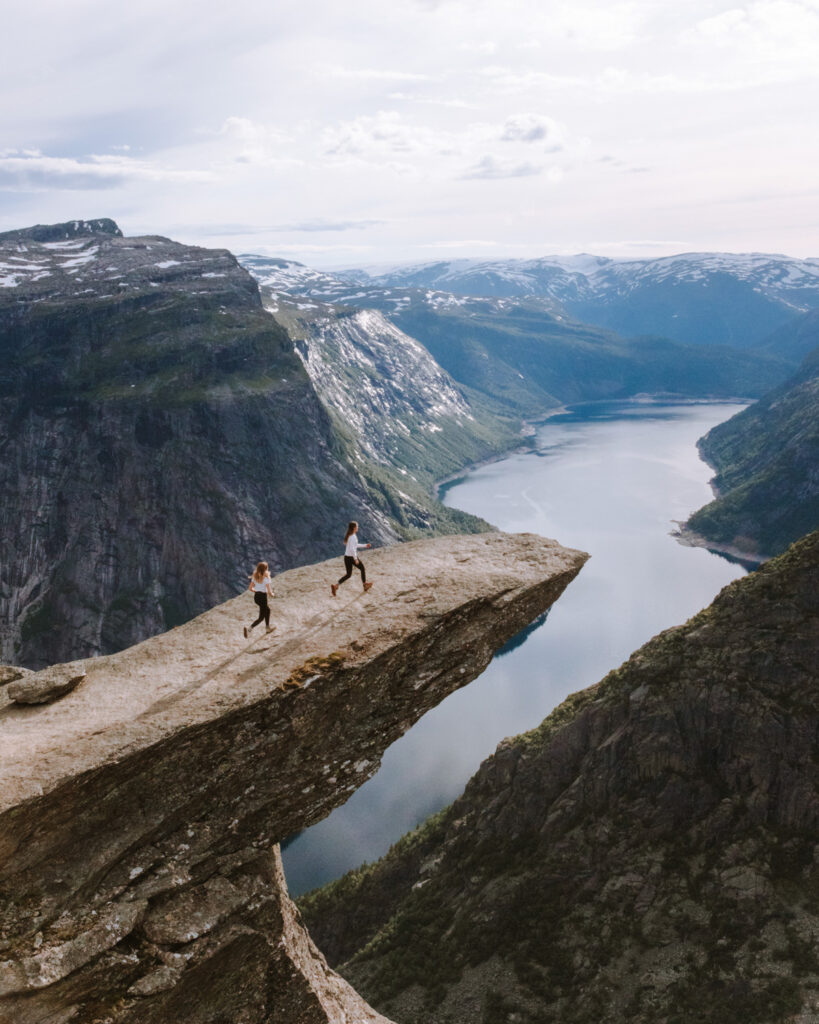
When you arrive, you will probably see lot of people hanging out at a large, open rocky space taking in the views. Then you will also most likely see those that are standing in line. From the top, it looks like the Trolltunga rock is narrow and rather scary haha. I highly recommend you don’t walk away without getting close and looking at it. It is actually quite wide and slightly uphill, so it feels very safe (said by someone who hates heights!)
There is a small section of metal rungs to get to the Trolltunga. I personally think the best photos are taken from up above the ladder back by where the line forms. This allows you to get an angle that includes the rock, the sky, the mountains and Ringedalsvatnet Lake.
If you are with a guided tour, the guides will rappell down to get an angle with a small professional camera that makes the rock look even more pronounced. Everyone there was so polite and helpful in getting photos of me and my friend together!
Camera Gear
I recommend a decently wide lens for this. I used a 24-70mm lens and it was perfect for the angle I wanted. Check out all my camera gear HERE. Drones are not allowed here. If the weather is looking to be very sunny at the time of day you are going, make sure to bring an ND filter for your camera to soften the highlights and contrast!
How to Avoid Crowds at Trolltunga/ is it worth it?
There aren’t that many ways to avoid crowds at Trolltunga, but the few methods there are – are worth it.
The BEST way to avoid crowds is to pitch a tent not too far away from the Trolltunga Rock and wake up REALLY early. You will definitely beat out the mass crowds that start to trickle in by late morning as they finish their long hike up.
If you are going with a guided tour that stays overnight, they make sure to time the Trolltunga visit with optimal lighting, weather and lack of crowds. Sunset is another great option to avoid the crowds as the majority of people day hike and left for their long hike back down.
Is it worth visiting the Trolltunga?
Yes. Certainly there are hundreds of incredible views in Norway, but this one is especially famous for a reason. The view is incredibly impressive and the photos you get here will be memories you will cherish for so long. That being said, if you had to choose just ONE area to spend your time in Norway – I would recommend the Lofoten Islands.

Where to Stay During Your Visit:
We chose to stay at Trolltunga Hotel before our Trolltunga overnight. We chose this hotel for the views and because the meeting with our guide was happening in the lobby here the night before. It had a wonderful breakfast and restaurant on site. The hotel has a storage room for holding your luggage while you are away on your excursion too!
I definitely recommend staying in Odda to be close to the trailhead and to any gear rentals, guide meetings, etc.
TIP: I highly recommend booking a night the day before your trolltunga experience and for the day you hike back down. Our schedule got funky so we had to hike down and immediately drive the 5+ hours to Oslo and it was exhausting.
Other Accommodation Options:
- Trolltunga Camping (Hostel and Camping)
- Trolltunga Lodge
- Hardanger Hotel
Recommended Itinerary:
Day 1:
- Arrive in Odda and check in to your hotel
- Check out Låtefossen Waterfall if you have time!
- Dinner at Trolltunga Hotel or Ferskvaren
- Meeting with your guides
Day 2:
- Breakfast and store your luggage with the hotel
- Head to P2 Parking area to start your journey or to check in with your guides
- (either spend the night up on the mountain or come back to the hotel)
And Day 3:
- (hike down from mountain)
- Explore downtown Odda shops and sit by the water
- Dinner at Glacier Restaurant
Optional Extra Day: Check out Buarbreen Glacier hiking
If you’re looking for more Norway Guides, check out my 2 Days in Oslo Guide!
Conclusion:
Regardless of how you experience the Trolltunga in Norway, you are in for an experience of a lifetime. If you do have the time and resources to stay up on the mountain glamping or camping – you won’t regret it. And if all the logistics seem like a lot, I definitely recommend going with a guided tour, as they cover everything and can answer any questions you have!
Let me know in the comments below if you would do the via ferrata or prefer hiking!
Share and save for later!


Your post was not only informative but also a pleasure to read. The flow and structure are excellent.